Category Archives: New Features

Permissions and Administrators

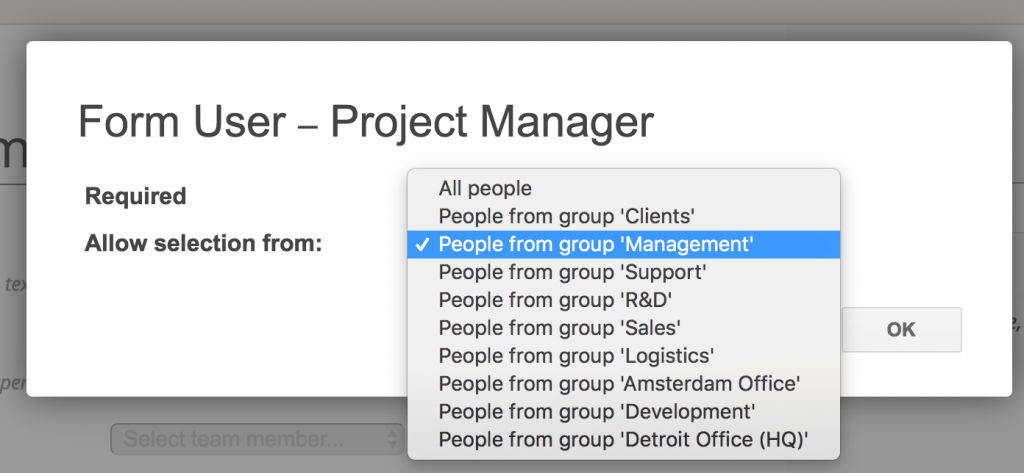
Although some information is relevant for everyone in the company, page permissions make it easy to only share certain information with a specific group of people. Next to restricting access to content, each user has a role which determines access to global features, such as account settings or the people directory.

The three role levels are: Normal user, Limited user, and Administrator. Normal users (the default) can view pages they have access to, but not change any site settings like theming, the menu bar or invite/remove users. Limited users are similar but have additional restrictions such as not being able to create pages or view the people directory, which can be useful when inviting contractors or clients to the intranet. Administrators can always access and change everything.

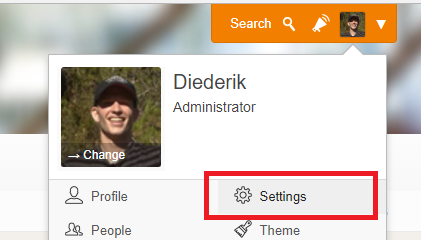
Administrators can change roles from the People directory:

people2-settings-edit-role

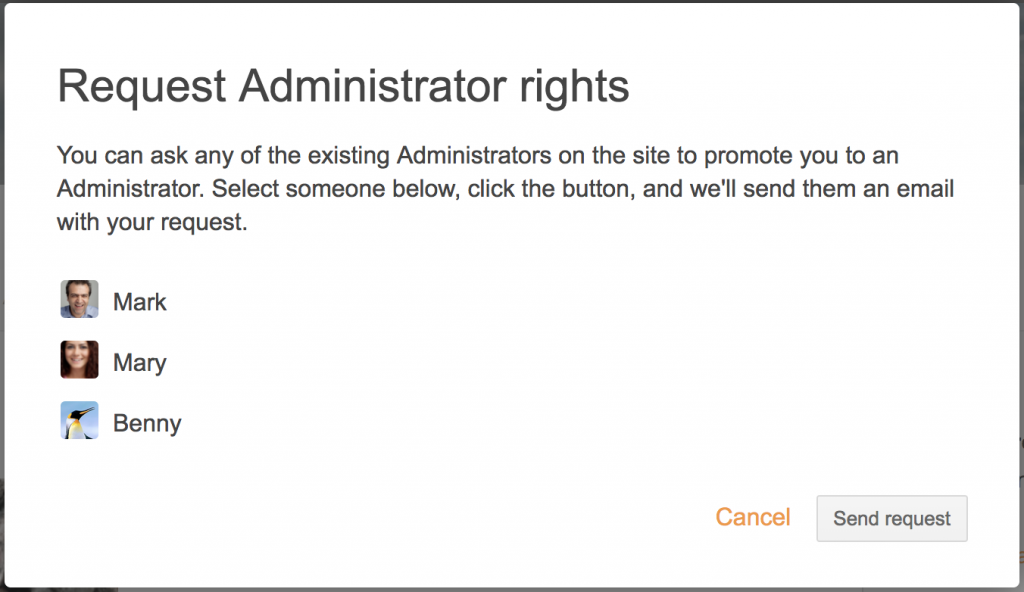
You can also specify the user’s role when inviting them to the intranet. As we noticed some people were missing features because they had been invited as Normal users (when they should have been an Administrator), we’ve also made it easier to request Administrator access when trying to access a setting that’s not available:

request-administrator-rights-intranet

Best Wishes for 2018

Today we released two small updates to Papyrs.

1. High resolution (retina) logos

The quality of LCD displays has increased so much in the past couple of years. More pixels. Better color reproduction. Better viewing angles. Brighter whites and blacker blacks. A while ago we updated Papyrs to take advantage of high resolution (high DPI) screens to make the icons and graphics nice and crisp. One thing remained on the to-do list though: updating the way your site logo is displayed in Papyrs on high resolution screens. We just went ahead and added support for high resolution (retina) site logos. And the best thing is, if you’re already using Papyrs you don’t even have to do anything — your site logo should just appear sharper when viewed on a high resolution display. And for those who read this who aren’t using Papyrs yet, why not give it a try? We have a free trial.

2. High resolution (retina) profile pictures

Especially in the People Directory it can be difficult to recognize people by their photos, because the pictures are so small. Having crisp, high resolution, images makes a big difference here. And we updated the images in the Papyrs Activity Feed as well. High resolution profile pictures will only be used for images set from this point on. Existing profile pictures are left unchanged.

Fin 2017

nordwood-themes-467442

And just like that, another year has come to an end. Went by so fast. Best wishes to all from the Papyrs team, and a big thanks for using Papyrs!

Template pages and default template

To create a new page in Papyrs, simply click the New Page button, fill in a name and start adding content.

You can start with a blank page and customize each page individually when you create it, or use templates if you often want to make the same kind of additions or changes to certain types of pages. For example, you could create a template with a three-column layout and author details in the sidebar for pages with news, a form page template always starting with a description and a date form field, or perhaps each wiki-like document should contain a table of contents.

create-new-page-from-default-template

Adding templates you can reuse later on works just like creating normal pages. When your template is finished, go to its Page > Page Settings screen, click Show more settings, and then enable the Available as template option. The next time you click the New Page button, you can click select a template to start your new page with the same contents, layout, and settings as that template page.

select-template-dialog

Today we’re adding an option to the Page Settings screen to mark a page as the default template. When this option is enabled, everyone who can access that template will automatically use it when they click New Page. This way you change what a default new page in Papyrs should look like.

page-settings-dialog-properties

— December, 2017

Export Form Data to Microsoft Excel

Today we added a feature to Papyrs to export Papyrs Forms data to Microsoft Excel.

Papyrs Forms are used to track all sorts of information. You can use it to keep track of your sales leads, customer orders, invoices, customer feedback, appointments, or anything else. With Papyrs you can just drag&drop form widgets onto a page and a fully functional database application is created automatically for your form. Sometimes, though, you want to do some extra analysis on the data you have stored in your Papyrs Forms database. This analysis you may want to do in a spreadsheet program.

With this Papyrs update creating these Papyrs reports of your data and exporting them to Microsoft Excel takes just a single click. Navigate to “Views & Reports” and select “Export to Excel”. Your browser will download an XSLX file that can be opened by Microsoft Excel 2007 or above, macOS Numbers, Open Office Calc, and Google Sheets.

export_to_excel

Open the downloaded file in your spreadsheet software of choice and you can do your work right away. No conversion or import step necessary.

excelified

Note for existing Papyrs Users
Export to Microsoft Excel is the default for new users, but existing users have to change their Data Export format first. To do this navigate to settings:

nav_to_settings

Then select “MS Excel” as “Data Export format” on the Preferences page and click Save:

export_format

People selection on interactive forms

Most pages in Papyrs contain important information, news, links, comments and files you wish to share within your organization. Other useful elements you can add to pages include interactive online form widgets to collect information and process requests.

Adding a form on a page is as simple as adding a picture: in the editor, just drag&drop the form elements on your page. One of the available form widgets is called the Form User widget. It allows people to select someone from your company as part of filling out the form. For example, someone could select their manager when filling out a travel expense reimbursement form:

intranet-form-people-reimbursement-example

Sometimes people should only be able to pick from a specific group of users, like Managers in this example. We’ve just added an extra option to the Form User widget which makes this possible: just edit the widget, and select the group filter from the “Allow selection from” option:

intranet-wiki-form-people-input